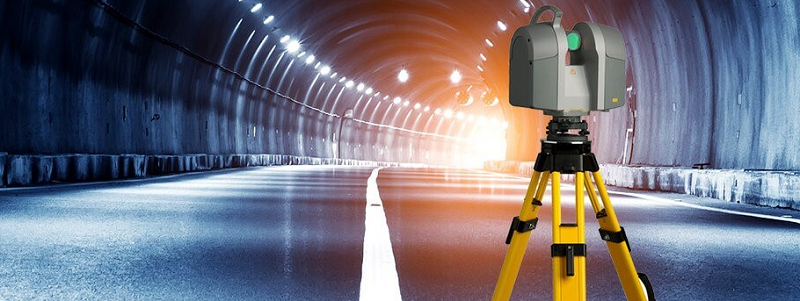
The production and use of molds provide great help for mass production of products, greatly improve the production efficiency, meet people’s increasing demand and reduce the production cost. It has to be said that molds play an important role in the industrial field.
With the increasing level of modern manufacturing technology and product design, and the increasing complexity and precision of products, everyone has increasingly stringent requirements for molds. Due to the complexity of molds, quality inspection and reverse mapping have become difficult. The traditional detection methods and mapping tools have been difficult to meet their needs. The emergence of a high-precision 3D scanner provides an efficient and feasible solution for product detection and reverse.

3D scanning is not intended to replace other detection equipment, but can complement basic detection equipment:
- The larger the size of the inspected part, the greater the advantage of 3D scanning.
- The more complex the part structure, the greater the advantage of 3D scanning.
- The more diversified the types of parts, the greater the advantage of 3D scanning.
3D scanning has unique advantages for molds with more special-shaped surfaces and more cumbersome, which can reduce the uncertainty and obtain a consistent description of the measured object.
Application of 3D Scanning In Mold Industry
Different requirements lead to different application directions. The following are some specific applications of 3D scanning in the mold industry:
1. 3D scanner can be used in the field of mold repair
Mass production by manufacturers will lead to mold wear, and then the error of products will become larger and larger. Use three-dimensional scanning to scan the die, compare the accuracy with the CAD drawing of the die, and get the specific position of deviation and wear. It can reduce additional mold repair time for designers, improve mold efficiency and optimize production efficiency.
2. 3D scanner can be used in the field of mold inspection
The manufacturer can use 3D scanning data for quality evaluation during the molding stage. Generate error analysis and data report according to the detection software, correct the defects in the mold or production, and feedback to the mold design and processing in time, so as to save the production cost and improve the manufacturing efficiency.
3. Application of 3D scanner in reverse design
After processing the 3D data obtained from 3D scanning, it can be transformed into CAD model to realize 3D reconstruction and complete the reverse process of mold design and manufacturing. It is possible to realize the localization of the products. In the production of large molds, the white foam model can be manufactured, and the 3D mold scanning system is used for testing to verify the mold manufacturing level, reduce the redesign time, and avoid the huge waste problem caused when the problems occur in the process of large mold manufacturing.
Now there are many kinds of 3D scanners in the market, but generally speaking, the 3D scanning equipment suitable for the mold industry mainly include handheld laser 3D scanner and photographic 3D scanner for 3D laser scanning. Let’s introduce them respectively.
(1) 3D laser scanner
It mainly uses the principle of laser ranging, that is, through the collection of 3D coordinates, texture, reflectivity and other information of a large number of points on the surface of the measured object, the data such as line surface volume and 3D model can be reconstructed. This method has high precision, good portability and strong environmental adaptability. It is suitable for industrial manufacturing such as mold and casting, as well as non-industrial industries such as cultural heritage and education. It breaks through the traditional single-point measurement and makes the three-dimensional scanning technology move forward to surface measurement.
(2) Photographic 3D scanner
It is named because its scanning principle is similar to the camera photographing principle. It mainly adopts structured light technology, phase measurement technology and computer vision technology. First, the light is projected onto the measured object, then two cameras with included angles are used to synchronously take images of the object, and then decode and calculate the phase operation of the taken images, Finally, the three-dimensional coordinates of each pixel of the object are calculated.
This three-dimensional scanning device has better details and higher accuracy, and is more suitable for electronic small parts and other objects with high requirements for details.