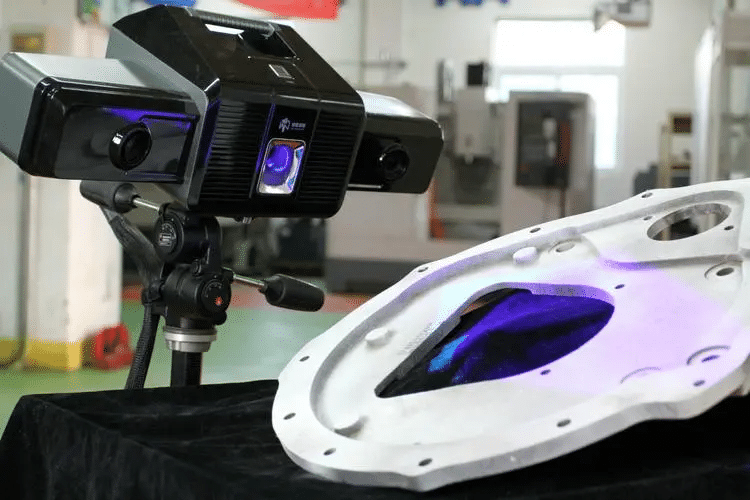
We were able to inspect the high-precision stands used to transport the cab to other production plants, submit deviation reports to customers in real-time, and make better decisions by estimating the cost of multiple repair measures.

Challenge: How to safely transport the cab from one production plant to another in an automated loop fashion?
If the cab and chassis are made in separate factories, then the manufacturer uses stands (skids that fix the cab at 4 points) for their transfer. Therefore, in order to hold and maintain the cab safely, both the cab and the stand must be highly precise. The fixed position must be in the right position and the dimensions must be appropriate. These determine the quality of the vehicle.
For stands that are manually moved by a forklift in a factory and are susceptible to damage, how can manufacturers ensure they meet specifications for all of them?
To reduce scrap and maximize productivity, the service company inspects each stand loop by loop. If a problem is detected, this defective skid, which affects the production workflow, is diverted by an automated line and replaced with another. If a defective product is detected, it must also be repaired. Unless the measurement solution results in a pass, the stand remains in the factory.
Result when using inspection jig for high-precision stand measurement
If the inspection is done in a manual inspection station with a test fixture (for example with a tolerance of ±2 mm), the skid only needs to fit this fixture. If not, it is considered out of tolerance. I don’t know how far off it is, though. It is impossible to know exactly what the real problem is and which side is defective. Furthermore, this measurement method also makes it impossible to indicate the actual position of the four critical fixed positions.
How can a company that provides inspection and repair services be 100% transparent to its customers?
If you pay to repair problems found in your own inspections, a conflict of interest may arise: the more defects you have, the more repairs you will have to do. The service company may be asked the reason for the repair. Customers may also ask if the damage is that serious and if it really needs repair. For this reason, there is nothing better than a real-time indication of measurements and where repairs have been made. Customers need to be able to obtain quality information about their products. With an automated quality control solution, you can ensure total transparency.
Solution: Easy-to-use automated 3D measuring system with high accuracy, high speed and versatility
Precision:
- With automated quality management solutions, service companies can improve measurement quality, achieve high accuracy, repeatability, and obtain more accurate results without being affected by environmental instability or user proficiency.
- High Simplicity: Automated measurements eliminate the need for operators to write data by hand, reducing errors due to distractions and fatigue. With digital document creation capabilities, deviation reports are stored in a cloud service that customers can review in real time. The plug-and-play device and user-friendly interface allow operators to take measurements quickly and reliably.
- Versatility: In addition to metrology-grade accuracy and ease of operation, 3D scanning technology is more versatile than other commercially available solutions because it can be used to measure many different types of skid in a variety of sizes and shapes. This means that it can scan as long as it is within the scope of the robot.
- Speed: High measurement rate capability and easy setup take only minutes from scan to result. Significantly reduce data acquisition and analysis time. This allows industrial service teams to shorten lead times and reduce inspection costs charged to customers.
Advantages: Automated 3D scanning optimizes inspection of high-precision stands and allows you to compare multiple repair strategies for better decision-making.
Service companies will not only be able to understand deviations, but also assess the severity of those deviations and make appropriate repairs or corrections.
- Increased inspection accuracy: Automated quality control solutions enable service companies to ensure that they can take the most accurate measurements required for parts that require precision. Provide customers with real-time follow-up and measurement data available 24 hours a day.
- 100% transparency: Deviance reports are stored in a cloud service, so customers can see them in real time. Customers can see not only the measurement results, but also where repairs are being made. Customers can see real-time information about the quality of their products.
- Better decision-making: If the skid does not match the CAD drawings, the service company will review the inspection report for the entire lot. Repair decisions differ between a few defective skids and a full 2000 skid lot with a deviation of 3 mm ± one direction. You might estimate how much it would cost to repair all the skids, or you might adjust your assembly line to see if you can handle the deviation. This means that with individual data for all skids, you can estimate the cost of multiple solutions and make better decisions.