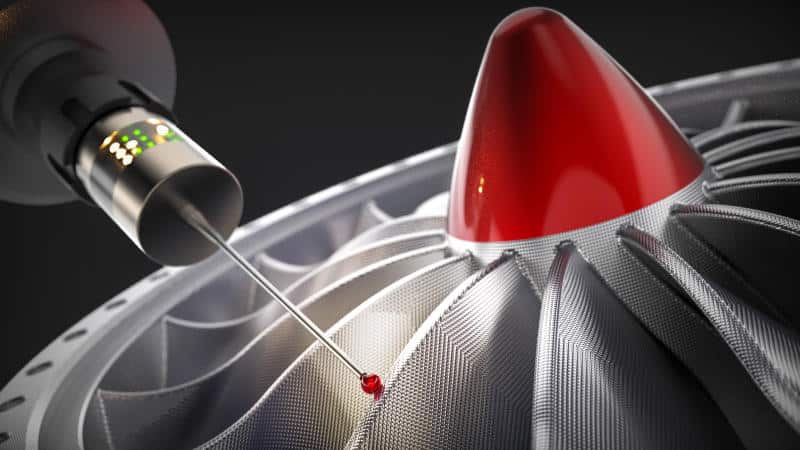
We conduct dimensional inspections by advanced and professional measuring machines at the request of our customers. There are various applications for industrial, food, medical, and precision parts, and each product has dimensional tolerances and inspection standards.

In our previous post, we have introduced what is Dimensional Inspection & how does it perform in production progress, here we are going to break down the main benefits of using Dimensional Inspection devices and the key points you should consider when introducing them.
Benefits of Introducing Dimensional Inspection Equipment
There are three advantages to introducing dimensional inspection equipment.
(1) Reduction of inspection time
With the introduction of dimensional inspection equipment, dimensional inspection can be performed instantly with an image sensor. Therefore, it is possible to significantly reduce the inspection time compared to the case where the inspection is performed manually. If the inspection is performed manually, the inspection process may become a bottleneck, but by introducing a dimensional inspection device, it is possible to carry out dimensional inspection according to the production speed of other processes.
(2) Elimination of human error
When performing dimensional inspections by human hands, variations due to the skill difference of the inspectors occur in no small way. In addition, if you work continuously for a long time or are unwell, your concentration will be lost and you will make a inspection error, and as a result, defective products may flow out. However, if a dimensional inspection device is introduced, it is possible to ensure stable quality because dimensional inspections are performed based on predetermined pass/fail criteria. In addition, since the machine operates, it is possible to continue dimensional inspection accurately without fatigue.
(3) Reduction of labor costs
With the introduction of dimensional inspection equipment, the only work performed by a person is the operation and maintenance of the equipment, reducing the number of inspection personnel. In addition to hiring a large number of inspection personnel, it is less management risk to introduce dimensional inspection equipment that can be used universally.
Key Points for Introducing Dimensional Inspection Equipment
Here are some points to keep in mind when introducing dimensional inspection equipment:
(1) Selection of the optimum camera
Cameras are indispensable for building dimensional inspection equipment. Since the camera imagees what it sees and measures dimensions, the performance of the camera can measure things and the accuracy will change. Let’s select a camera based on the following four selection points.
① Number of pixels
The number of pixels is related to the accuracy of dimensional measurement. Select a camera with the optimum number of pixels considering the size and dimensional tolerance of the object to be measured.
② Color camera or black and white camera
If it is difficult to change the brightness at the boundary line of the object to be measured, it may be difficult to detect the edge, so it may be better to use a color camera. Decide whether to use a color or black-and-white camera after considering the object to be measured and the conditions.
③ Transfer speed
Some cameras used in image processing have a high transfer speed. If the production line speed is high, pay attention to the transfer speed when selecting a camera.
④ Size
Cameras may have the same performance but different sizes. If you have limited space to install your camera, you should choose a smaller camera.
(2) Selection of Optimal Lighting
Cameras tend to attract attention when performing dimensional inspections, but in order to detect the correct shape, it is also important to select lighting that projects the workpiece. When choosing lighting, consider the following three points:
① Irradiation method
There are three ways to illuminate the illumination: positive reflection type, diffuse reflection type, and transmission type:
- The positive reflection type has the feature that it can be clearly detected even in uneven parts of workpieces where lighting such as metal surfaces is easy to reflect.
- The diffuse reflection type can be detected without problems even in workpieces where lighting is reflected, such as transparent tape etc. are stretched in the positive reflection type.
- The transmission type can detect workpieces that cannot be seen by reflection from the front by irradiating transmitted light from the opposite surface of the camera.
It is necessary to determine which of these three types to use based on the shape of the workpiece and the inspection application.
② Lighting color
Select the color of the lighting according to the color and background of the workpiece to be inspected. When a color camera is selected, the color of the lighting is basically white, but in the case of a black-and-white camera, use color lighting that can clearly detect the boundary of the workpiece when lighting the workpiece.
③ Lighting model
There are various types of lighting such as ring type, dome type, bar type, backlight type, and coaxial epi-illumination type. Backlight type is often used for dimensional inspection, but there are suitable applications for each, so it is necessary to select the model that suits the application.