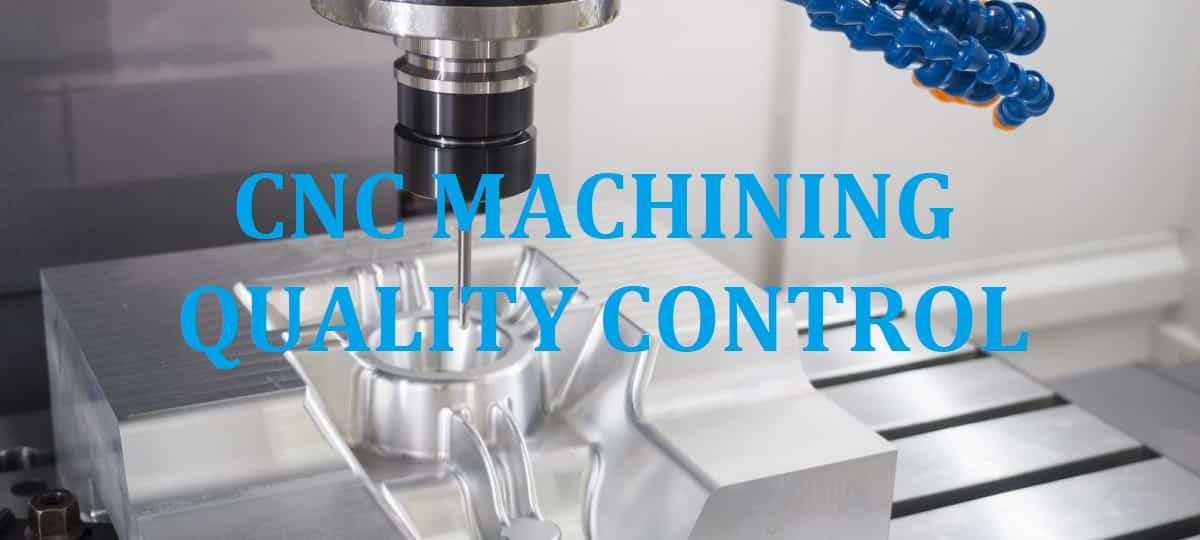
When it comes to quality control in precision machining, everyone thinks of checking parts after machining. This is not quite so. The final quality check or control is only one part. Quality really is a broader discipline that begins long before manufacturing begins.

Quality Control In CNC Precision Machining
Small number of pieces, free-form geometries and high-quality surface finishes are the premises from which tool and mold manufacturers start in the milling process of their products. These manufacturing requirements demand maximum efficiency throughout the process, in which CNC controls play a central role. Whether it is steel molds for injection molding or tools for deep drawing processes, anyone who wants to satisfy their customers with these types of products needs in-depth technical knowledge, as well as a series of efficiently coordinated processes. Each element must perform its task in an optimal way, starting with the CAD / CAM systems and the post-processor, passing through the CNC control and the machine tool, until reaching the cutting tool itself. Only in this way can companies successfully stay in this high-tech industry.
Quality Planning before CNC Machining
Before planning production, the first action is to study the quality requirements. That is, tolerances allowed and strategies, both machining and measuring.
Regarding machining strategies, the type of tool, the working conditions and the trajectories are defined, as well as whether additional passes will be needed to eliminate burrs. It must be taken into account that, when machining precision parts, any subsequent manual intervention must be avoided.
Quality Inspection Strategy In Precision CNC Machining
Another aspect is that of the measurement strategy. In addition to deciding which instruments to carry out the check, you also have to define when it will be done. In the case of medical devices, checks are carried out both during the process and at the end of it.
Returning to quality inspection, the steps to follow are the following:
- Definition of the instruments to be used.
- Completion of the Control Sheet.
- Preparation of the Process Control Sheet (if applicable) and Final Control.
- In the case of having to carry out three-dimensional measurements, several additional aspects must be taken into account:
- Approach paths or vectors, when the surfaces are not normal to the X. Y or Z axes.
- Definition of the part origins.
- Number of points to define the geometry.
Another key point is the measurement of shape defects. In the case of roundness, it is very important to arrange it with the client, who will subsequently make the pertinent checks. For example, in the case of machining the cone of a femoral stem, it is necessary to determine both the heights at which the measurements will be made, as well as the tolerance limits and other machine parameters that influence the results.
Why is It Important To Have Quality Control Inspection Strategy in CNC Machining?
The answer is very simple and can be summarized in that consistency is achieved between measurements in manufacturing and at the Customer.
Depending on the number of points that are defined on a plane or face, the measurement may vary. In fact when we work with calculated geometries, this aspect is fundamental. Defining four points in a cylinder is not the same as defining 8. When measuring its shape defect, it can vary in such a way that the same piece can be qualified or not, depending on the inspection adopted.