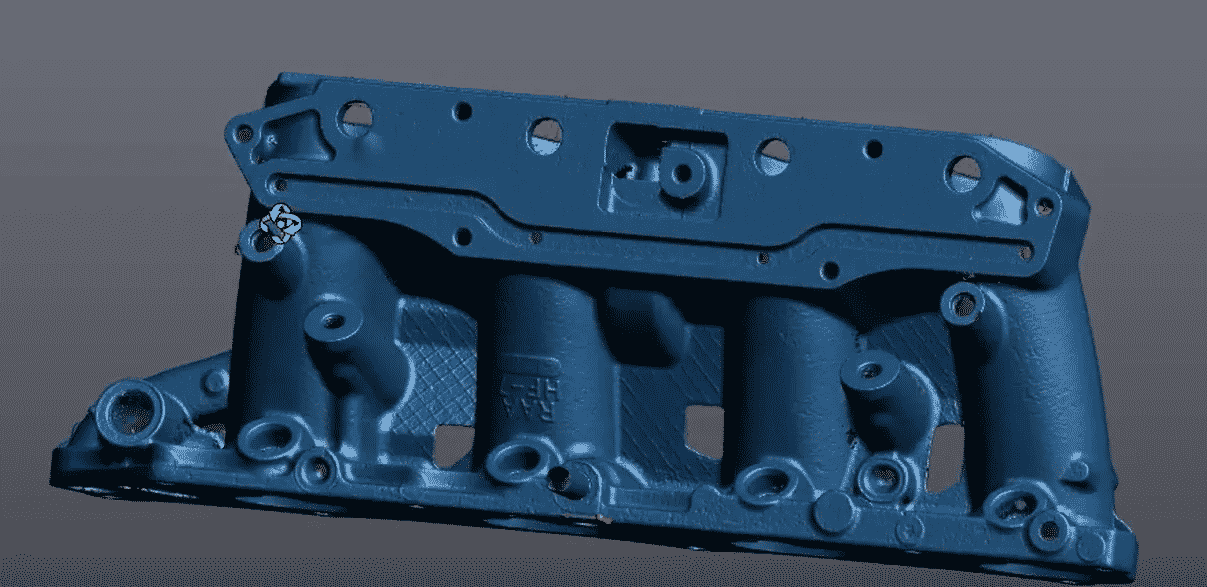
How to ensure that the filling and supply of cast and forged materials are sufficient? There are various issues in the handling of cast and forged materials, and manufacturers are under pressure to deal with them. For example, if processing is performed without sufficient hot water circulation or forging supply, casting and forging parts that do not meet customer requirements will be completed. When non-conforming parts reach customers, they can cause serious problems, leading to financial and litigation issues. Because of these concerns, customers are required to submit quality inspection reports for each part. If dimensional inspection of the molten metal injection part can be performed, it will be possible to secure a sufficient filling volume for processing by adjusting and changing the direction.

How to identify defective cast and forged products due to insufficient filling and supply volumes?
Manufacturers recognize the usefulness of pre- and post-process inspections to identify potentially problematic cast and forged parts. In pre-machining inspection, dimensions can be measured to verify that sufficient material is distributed to a particular surface of interest. In post-processing inspection, we confirm the overall picture of cast and forged parts and inspect the entire surface. Of course, the purpose of inspection before and after machining is to produce parts that meet tolerance dimensions.
How to ensure that the shape of the entire part surface, not the discrete point, is within the tolerance dimensions?
Inspection of cast and forged parts requires the dimensions of parts of varying shapes and complexities, regardless of the production environment. By using optical technology, it is possible to manage cast and forged parts while obtaining more information without surface adjustment. Unlike touch probes, which can only capture parts of an inspected part, 3D scanning can capture the whole thing. The 3D scanner can analyze the surface geometry to verify that sufficient hot water circulation is ensured for processing.
How can we shorten quality inspection time and reduce production costs associated with defective products?
With 3D scanners, you can easily identify parts that do not meet tolerance dimensions by evaluating dimensional measurements. In other words, it is possible to judge the pass or failure of the part at the stage when the molten metal is poured in, saving money and time. This rapid verification dramatically reduces and sometimes completely eliminates non-conforming cast and forged parts, saving time and money.
Solution: Fast, portable, convenient and versatile 3D tools for testing
Optical measurement technology has given manufacturers fast, highly efficient, portable and convenient equipment that can measure, inspect and verify cast and forged parts before and after processing.
Portability to bring measurement tools directly to the parts production site. With a portable 3D scanner, you no longer need to take cast and forged parts to the location of a coordinate measuring machine (CMM). It saves valuable time and allows you to perform more inspections.
Convenience of a handheld 3D scanner with simple digital Go/No-Go functions. This simplicity makes it easy to identify pre-machining cast and forged parts with insufficient fill or feed volumes, or as rejected parts that do not meet tolerance dimensions after machining. This gives you feedback that allows you to make a pass/fail decision at an early stage, saving you waste.
High speed that realizes shortening of inspection time by optical technology. An instant mesh is generated, allowing inspectors to see the measured dimensions of the surface simply by looking at the screen of a laptop or tablet. Therefore, dimensional deviation verification can be performed much faster than with conventional measuring devices. This saves time for CMM measurements, eliminates bottleneck issues, and ultimately eliminates the need to buy additional CMMs.
The versatility of the 3D scanner is not only able to measure parts immediately in the foundry, but also at the customer’s production site, and supplier’s factory. In addition, it can measure a wide variety of parts regardless of size, shape, surface finish or complexity without the need for surface adjustments.
Features: 3D scanner that realizes high quality in a short time and at low cost
The use of optical measurement technology enables manufacturers to reduce the costs associated with rejects, produce higher-quality parts, and reduce inspection time.
High-quality parts
Inter-process inspections conducted before and after machining can clearly identify casting and forging parts that may have problems, such as insufficient fill or supply of critical parts or non-conformity with CAD files. This allows us to produce high-quality parts that meet customer specifications and fit within tolerance dimensions.
Reduced production costs
By inspecting cast and forged parts before and after machining with portable 3D scanners, you can identify inadequate fills and undersupplied parts at an early stage. This allows defective parts to be changed and reworked without further time, reducing production costs.
Reduced inspection time
With a measurement speed of 500,000 readings per second, the entire surface can be inspected in just a few seconds. It also eliminates the need to take parts to a measurement lab for inspection. Thus, inspections performed with portable 3D scanners not only allow you to perform more parts faster and obtain detailed data, but also allow you to devote the time spent on CMM measurements to more important and valuable tasks, such as final inspections.
Optical measuring instruments can process cast and forged parts with sufficient filling and supply volumes, resulting in a final part that meets inspection standards.
This means that 3D scanners can provide more information and inspect more cast and forged parts faster. As a result, valuable time spent on CMM measurements can now be used to produce the final report that customers demand. With 3D scanners, traditional CMMs are no longer needed, eliminating bottleneck problems and eliminating the need to buy more CMMs. 3D scanners not only save manufacturers valuable time spent on CMM measurements, but also minimize inspection time and production costs associated with defective parts, ultimately resulting in high-quality parts.