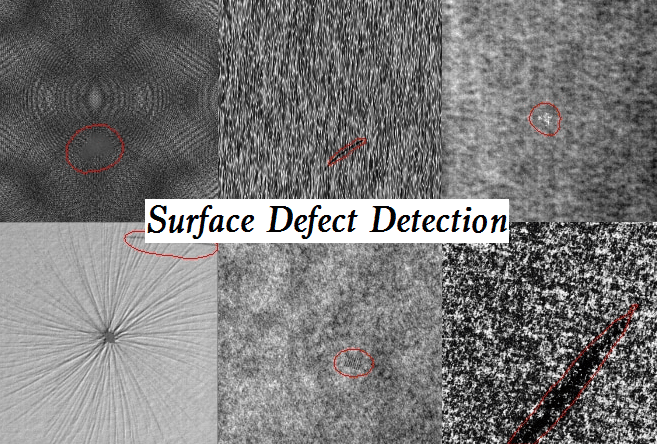
To strengthen their advantages in the market, manufacturers should not only continuously improve product quality but also constantly improve the efficiency of production. The automatic and intelligent surface defect detection method is helpful.

Technical Difficulties & Challenges in Surface Detect Detection
1) Difficulties caused by defects
The complexity of different types of defects and the great difference between the same type of defects bring a great difficulty to detection. The complexity of different defects is mainly reflected in three aspects. First of all, there are large differences between classes, the appearance defects of industrial products are complex and diverse, and the morphological characteristics of different types of defects may vary greatly. This difference leads to the weak universality of detection algorithms. Many defects need to develop detection algorithms separately, which is extremely complex. Secondly, there is a lot of fuzziness between classes. The apparent characteristics of different types of defects have certain similarities. It is difficult to distinguish the types of defects, so it is impossible to accurately judge the causes of defects and to accurately grade products. Third, the background is complex. It is difficult to completely separate the defect from the background in the production scenario, and the defect characteristics are not obvious.
2) Difficulties caused by the detection system
The surface defect detection system is generally composed of mechanical motion, electrical control, vision, and other sensors, and the system tends to be customized, which is difficult to replicate in batches across fields. When designing the detection system, the designer should not only understand the detection system itself but also be fully familiar with the characteristics of the tested product and the processing technology of the product. Only on this premise can a feasible and reliable implementation scheme be proposed.
The final detection effect of the system may be affected by each link of the system. Taking the detection system based on machine vision technology as an example, the consistency of the workpiece position, the stability of lighting, and the effectiveness of the detection algorithm will directly affect the quality of image acquisition and the application performance of the detection system, which requires the cooperation of multiple systems such as machines, electrical, vision, and sense. At the same time, high temperatures, high humidity, dust, and other complex and harsh external environments also put forward higher technical requirements for the integration and protection capabilities of the detection system. The system development enterprises need to study the system integration technology of surface defect detection equipment, explore the data acquisition system that can overcome the high temperature and humidity of the on-site environment, and the system protection technology that can resist external interference.
Methods of Surface Detect Detection
1) Laser detection
This measurement method is an online non-contact detection equipment. The profile measuring instrument is applicable to the detection of long materials in rolling, such as round steel, square steel, deformed steel, T-shaped steel, etc. General surface defects such as scratches, folds, bulges, and pits can be detected. It is composed of four laser two-dimensional sensors evenly distributed around the center, which can detect all directions, achieve all-around inspection, and achieve no blind area measurement. It can immediately identify the defects of rolled products and support operators to identify defective products decisively, thus improving the profitability of the production line. The profiler monitors the cross-section and then forms a high-resolution display of the complete surface, allowing the detection of local and periodic surface defects, as well as dimensional changes in rolled products. There is no requirement on the material and temperature of rolled products, and surface defects of 0.5mm and above can be detected.
2) Magnetic flux leakage testing
Magnetic flux leakage testing technology is widely used in the nondestructive testing of steel products. The detection principle is to use the magnetic source to locally magnetize the tested material. If there are cracks or pits on the surface of the material, the magnetic permeability of the local area will decrease and the magnetic resistance will increase, and part of the magnetization field will leak out from this area, thus forming a detectable magnetic leakage signal.
3) Infrared detection
Infrared detection is to make the surface of the continuous casting slab produce induced current through a high-frequency induction coil. Under the skin effect of high-frequency induction, its penetration depth is less than 1 mm, and the induced current in the surface defect area will cause more power consumption on the surface of unit length, causing the temperature rise of the local surface of the continuous casting slab.
4) Ultrasonic testing
Ultrasonic testing is based on the principle that the characteristics of acoustic pulse change at the defect. The reflection of the sound wave in the workpiece will be displayed on the fluorescent screen. It is a method to judge the internal defects and material properties of the workpiece according to the time and shape of the reflected wave. Ultrasonic flaw detection technology is mostly used to detect defects in metal pipes.
5) Optical inspection
The basic principle is that a certain light source shines on the metal surface to be measured, the high-speed CCD camera is used to obtain the surface image of the continuous casting slab, the image feature vector is extracted through image processing, and the surface defects are detected and classified through a classifier.